
![]()
eReserve Plus provides the most appropriate resources for ākonga at the time and place they need them. Integrated with Moodle, it acts as a bibliography that students can click on to get direct access to their readings.
This guide will show you how to use eReserve Plus and how to integrate it with your Moodle course.
Using eReserve has many benefits for those who use it.
See the instructions below for how to set up eReserve in your Moodle course.
 Back to the top
1. Log into Moodle
2. Find your course – it is important that you ensure your 2025 Moodle sites fit the standard naming conventions. Eg: CART510/2501.
See your teaching and learning team representative for help.
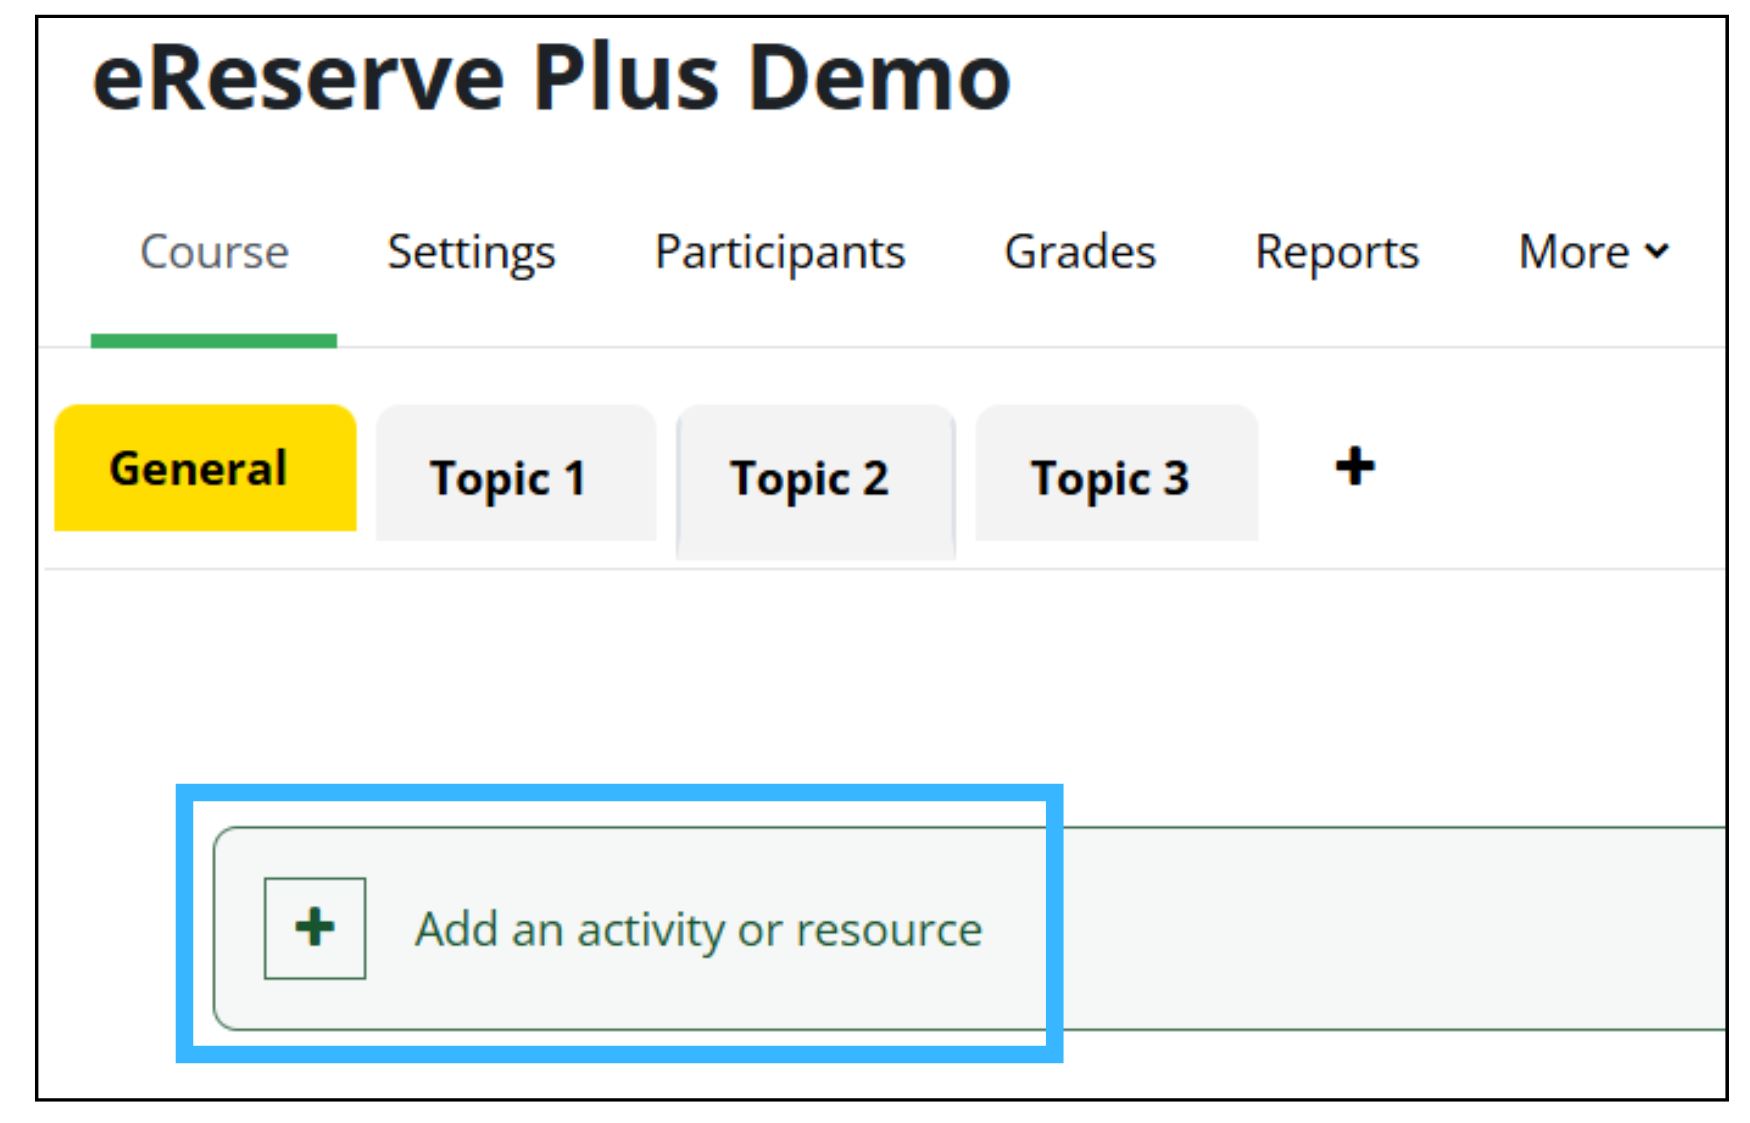
4. Make sure you are in edit mode.
5. If you have a reading/resources tab already, click into that tab.
6. If you don't have a tab like that already, set up a tab, call it Reading Resources and click into it
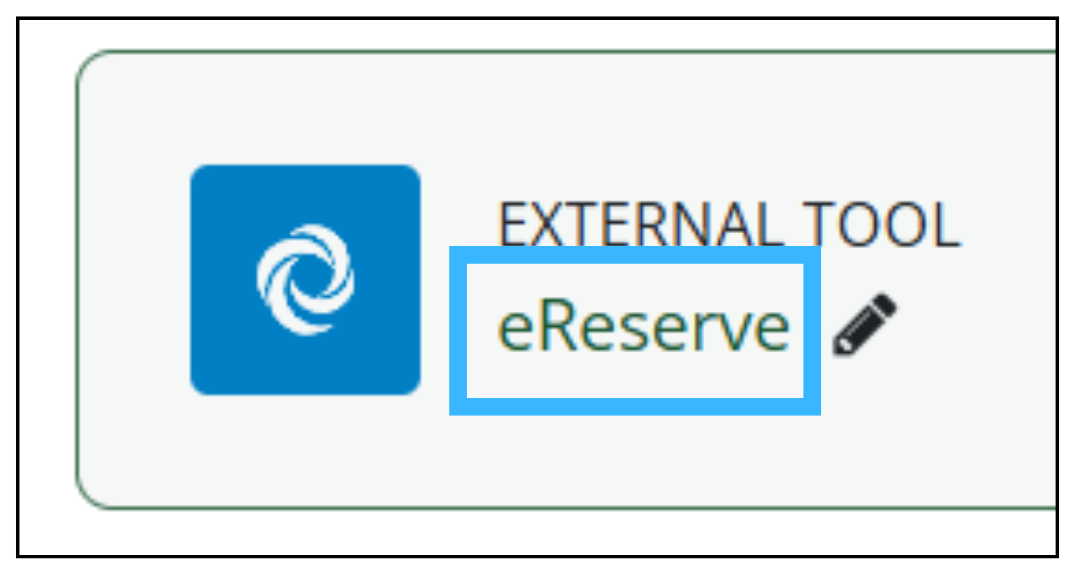
7. Add an activity or resource:
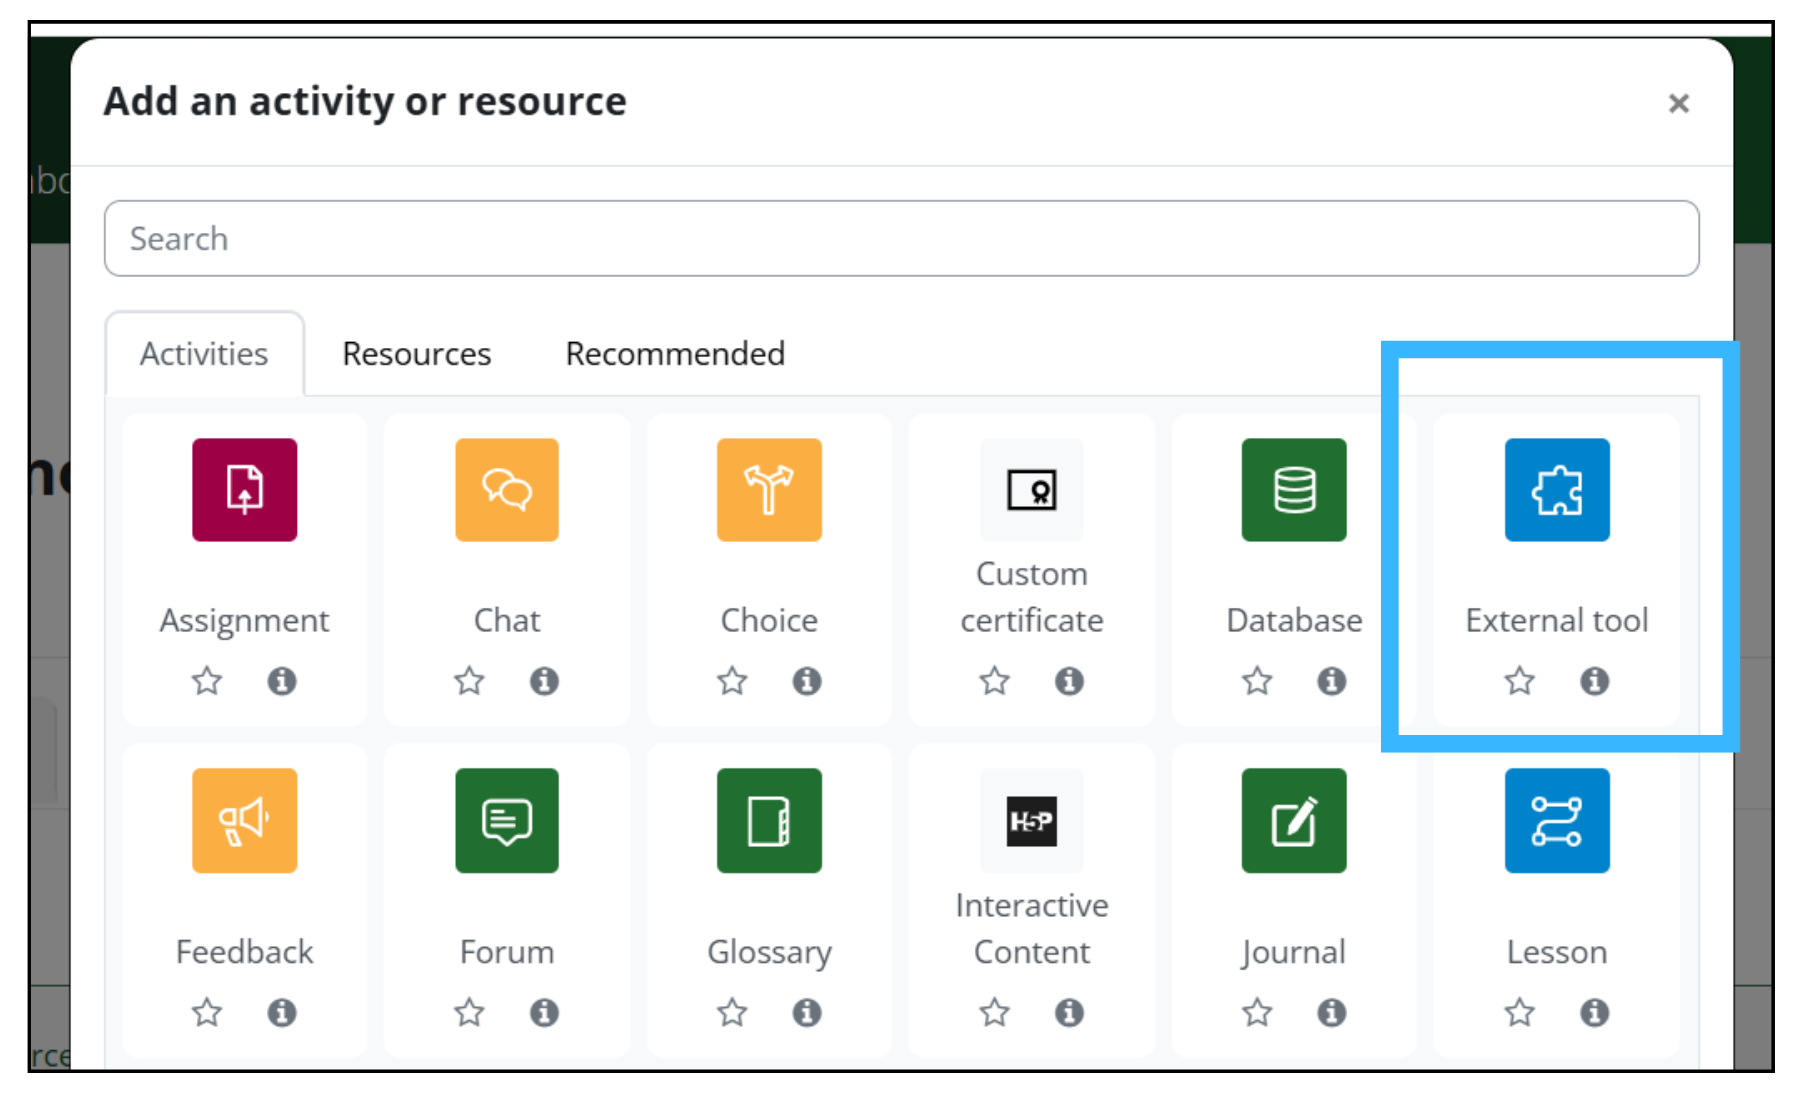
8. Click external tool:
9. Choose eReserve from the drop down menu and save an activity name: “eReserve”
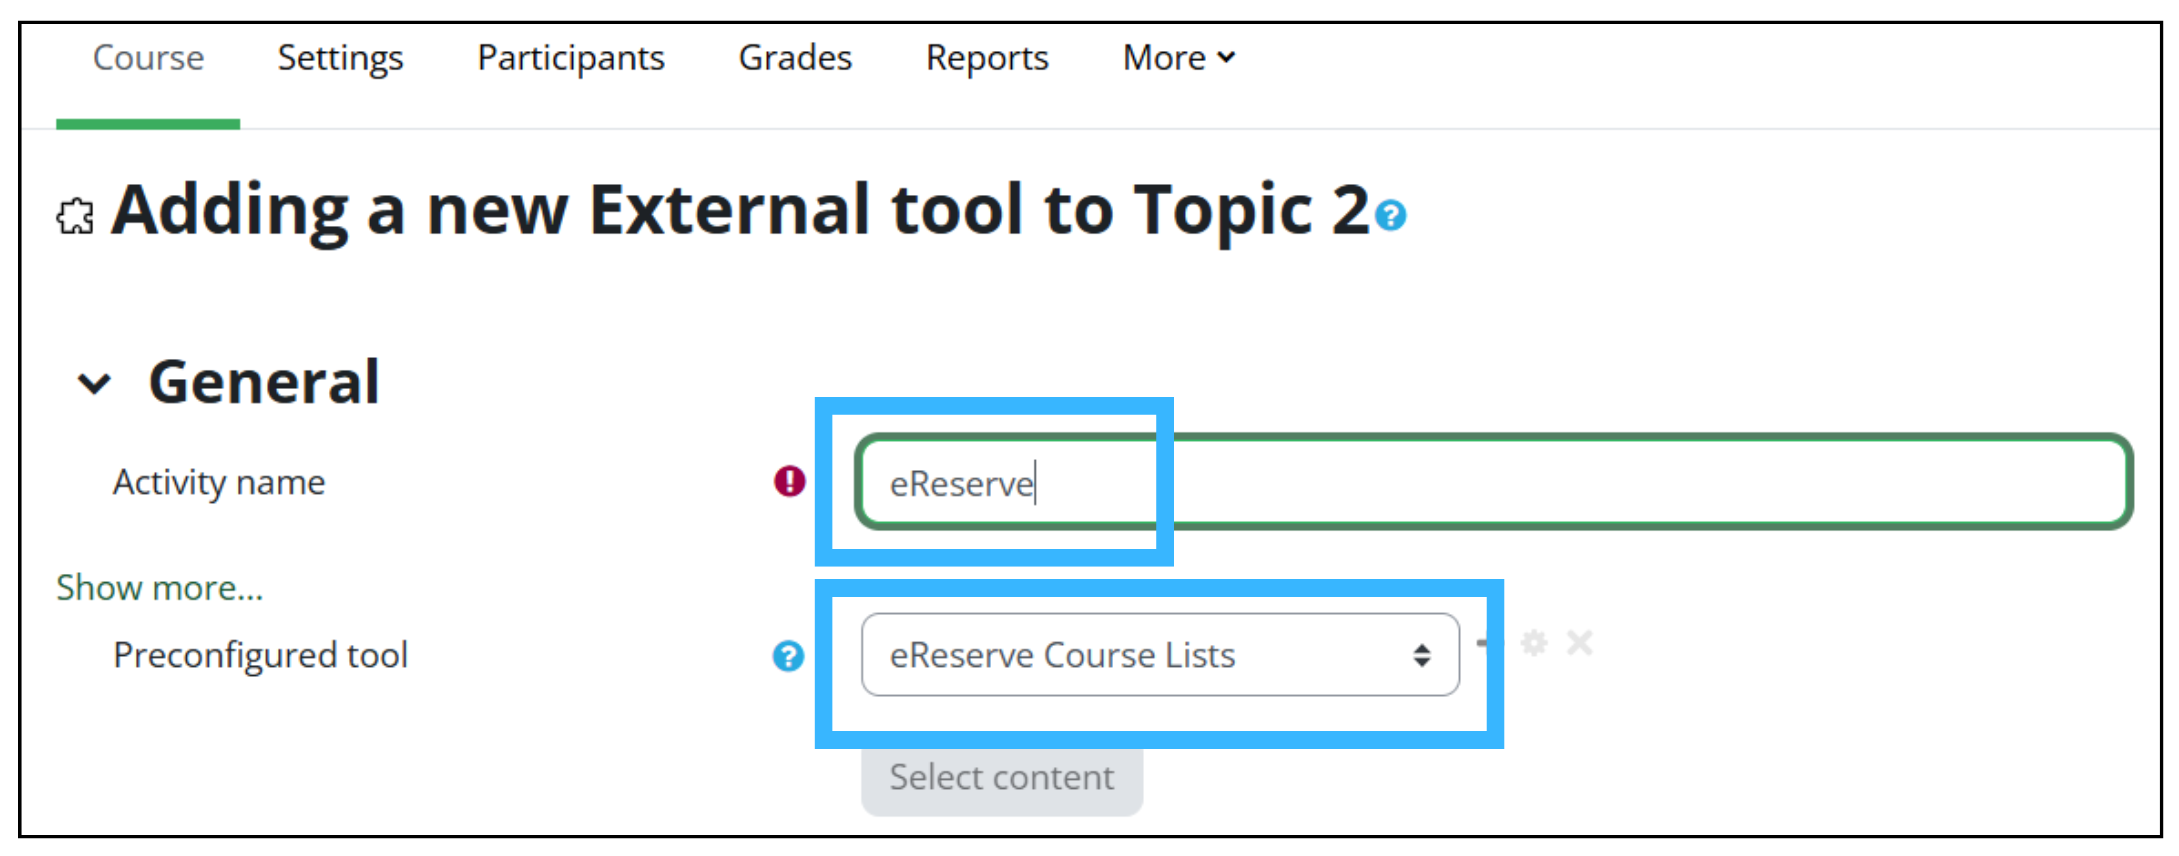
10. Click Save and return to course.
Back to the top
It's not necessary to provide links to websites or work you have created yourself, unless you want all your resources in one place for your ākonga.
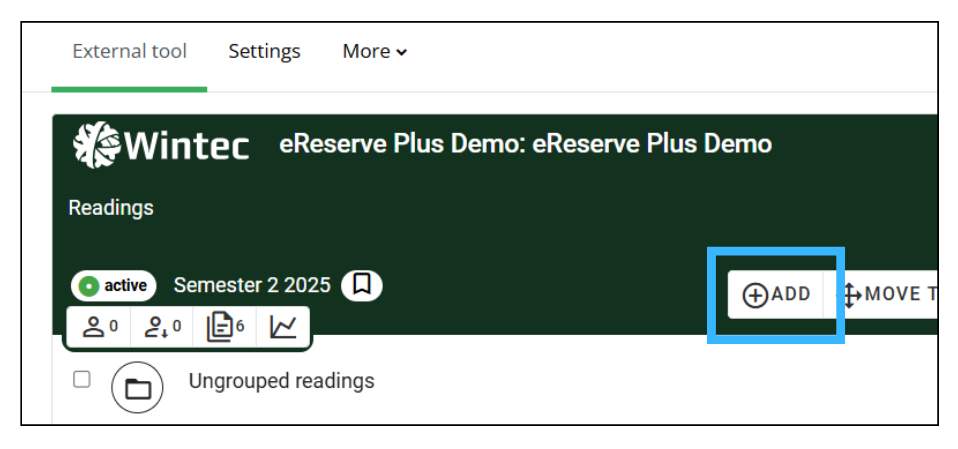
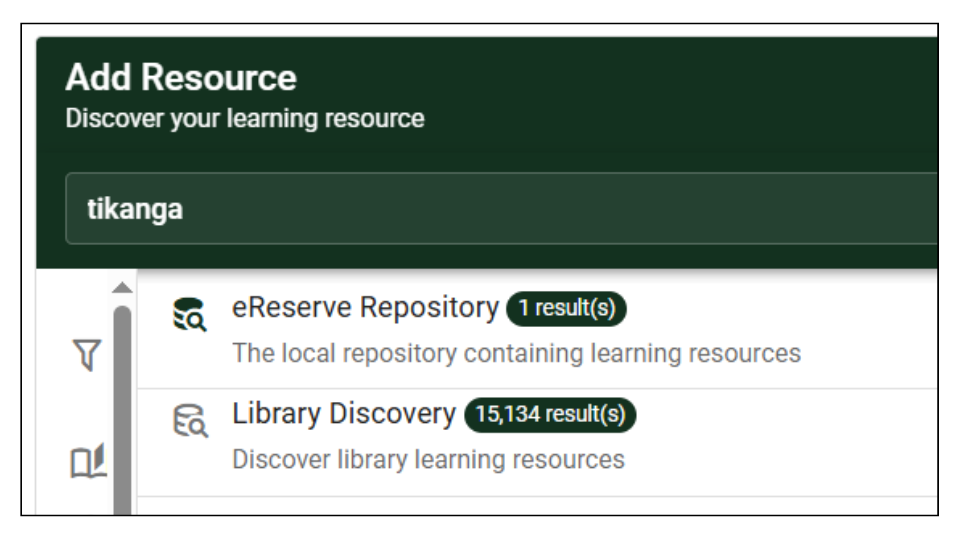
1. From your Moodle course, click into eReserve, then click Add:
2. Choose between existing resources from either the eReserve list or from the Wintec Library:
3. Select the resource you want by clicking on it.
4. Choose the reading importance:
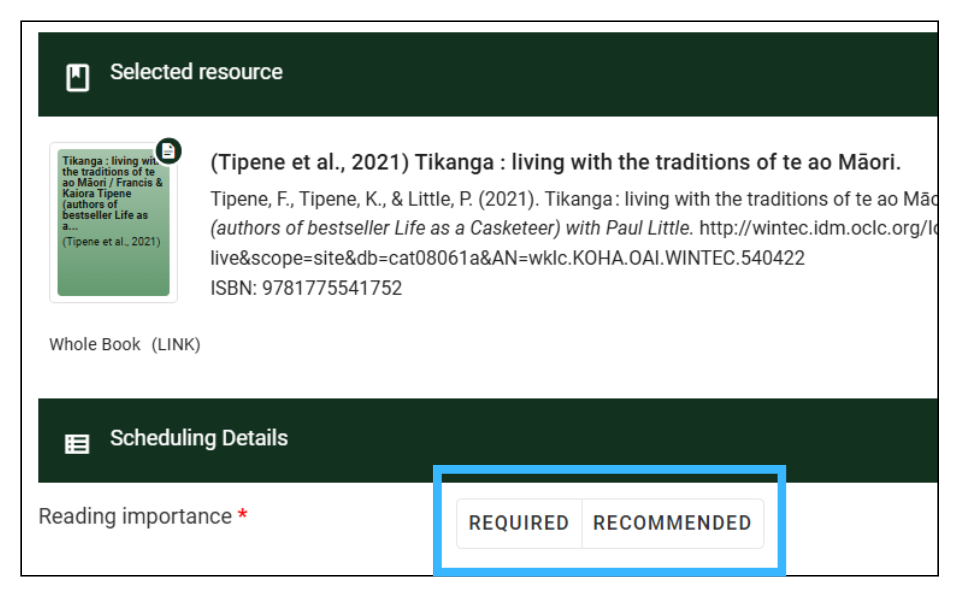
5. Click Submit.
For more info: Add Single Reading | eReserve Documentation
Back to the top
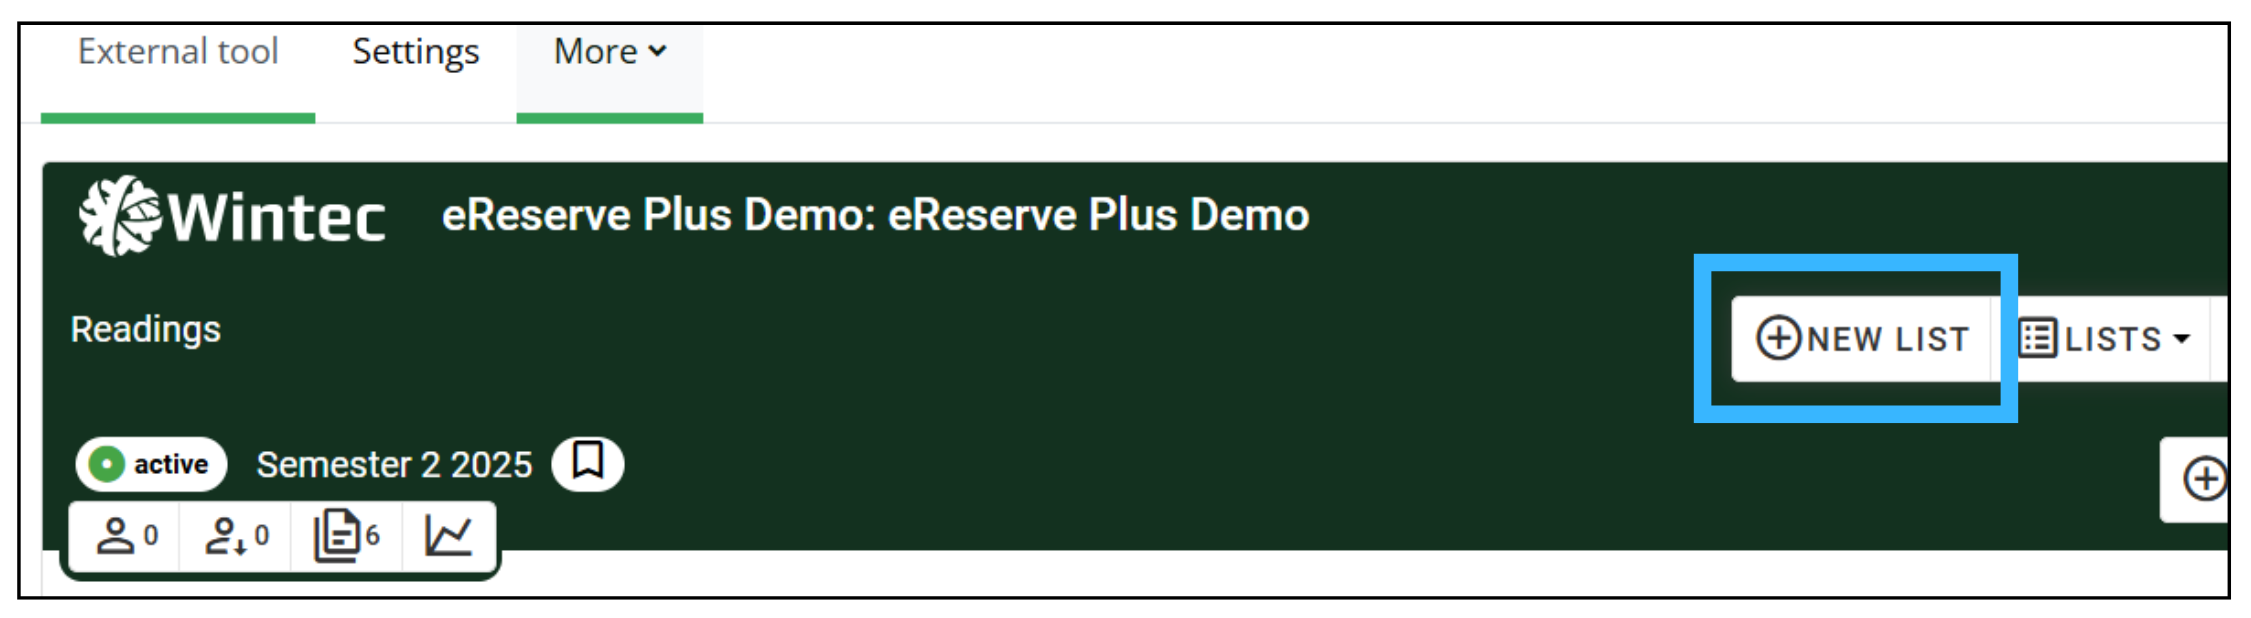
1. Click into eReserve:
2. Click New list:
3. Set the time frame you want the list available for:
4. Find your course and semester, then click Ungrouped readings:
5. Select the readings you want to add to your course:
6. Scroll back to the top and click Next, then Create:

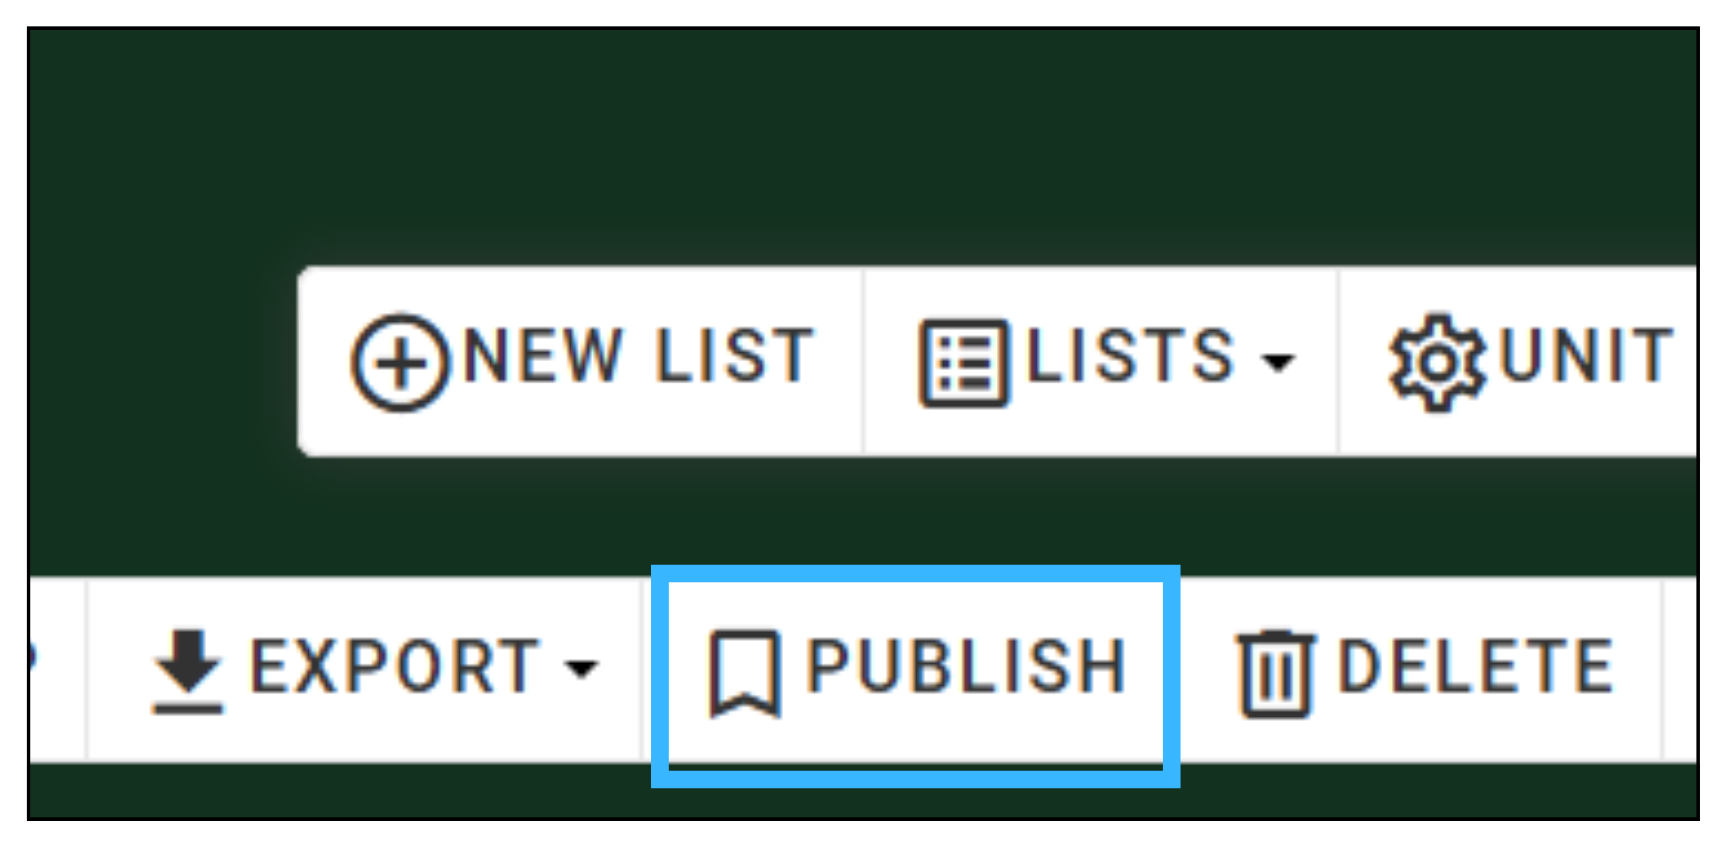
7. Publish your list:
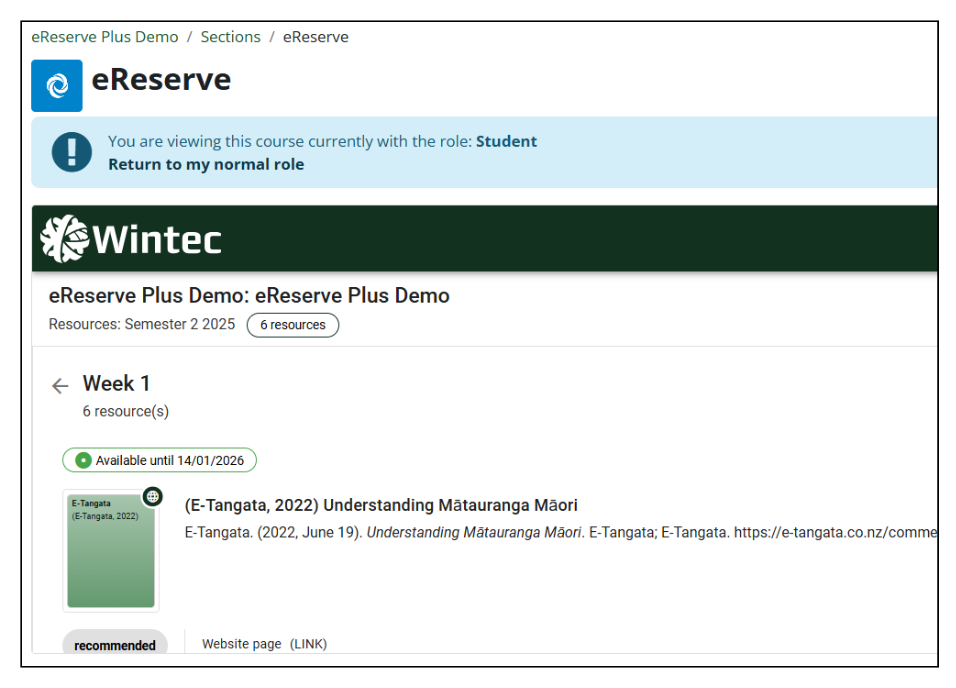
8. Change your role to Student to see your list:
Back to the top
To embed a reading into your course content, your list must be active, approved and published.
1. Go to your Moodle page, make sure you are in edit mode, and edit the section of text where you want to add readings:

2. Place your cursor where you want the resource to go and click on the eReserve logo:
![]()
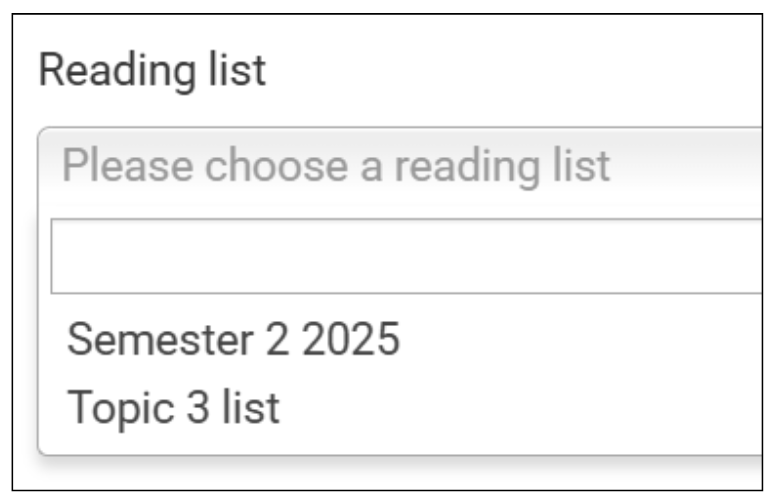
3. Select the list where the resource is located:
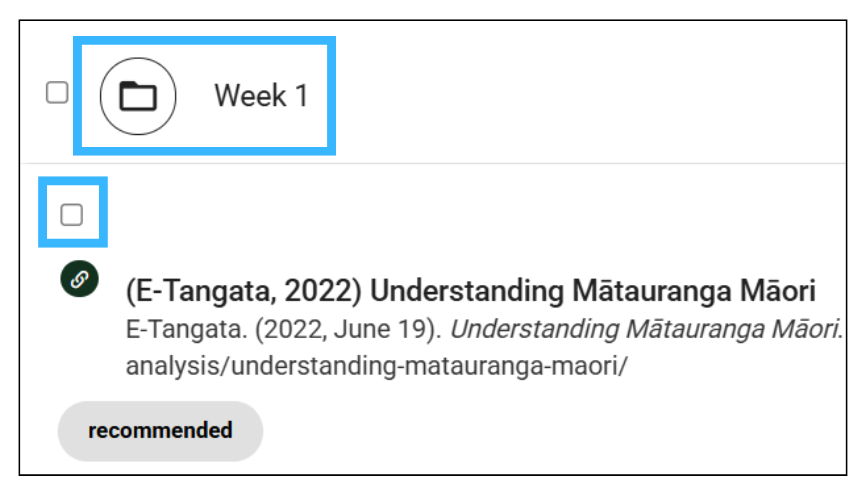
4. Choose the resource folder, then the resource:
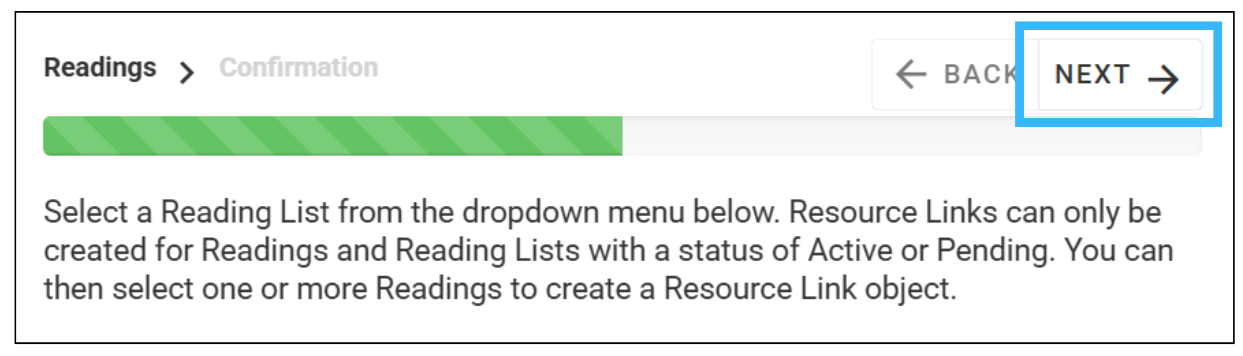
5. Click Next at the top of the page:
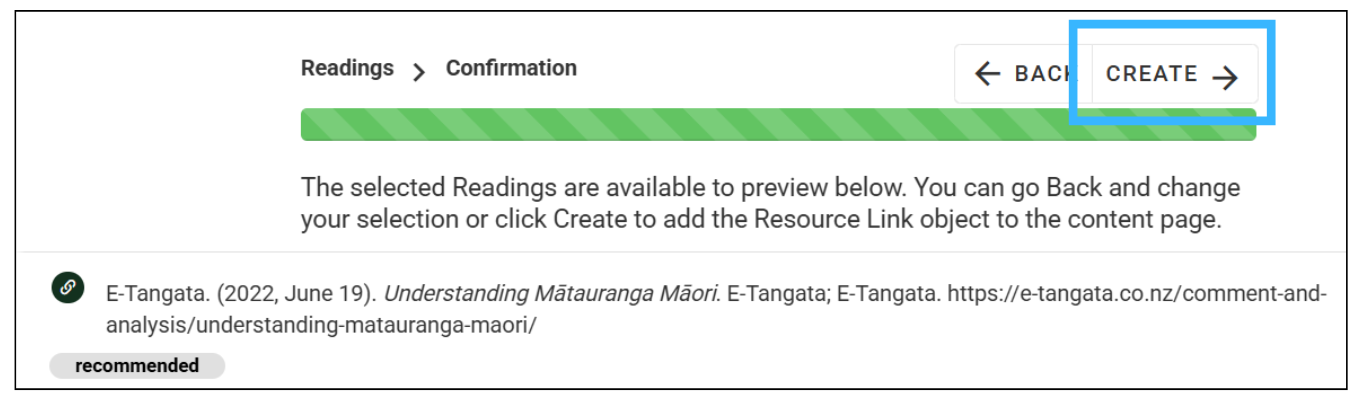
6. You will see a preview of the readings you have selected. If you are happy with your selection, choose the Create button:
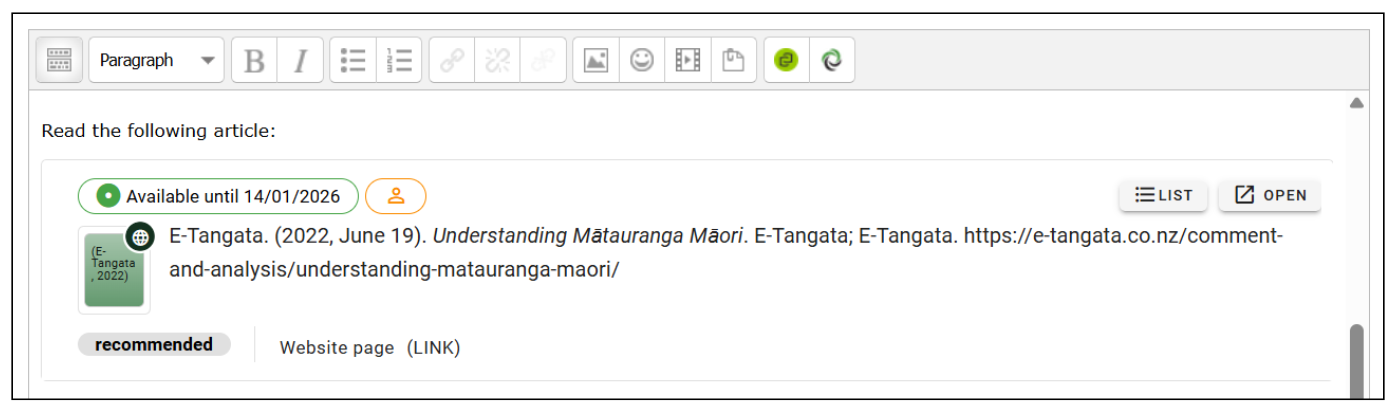
7. The embedded readings will appear in your text editor as shown below. Be sure to use the Save changes button to finalise the changes to your course.
Back to the top
Once a reading has been added, eReserve runs a check. If all is okay, it is immediately uploaded to your list.
If it's not okay, eReserve will tell you the reading needs further assessment. Usually, this means:
Back to the top
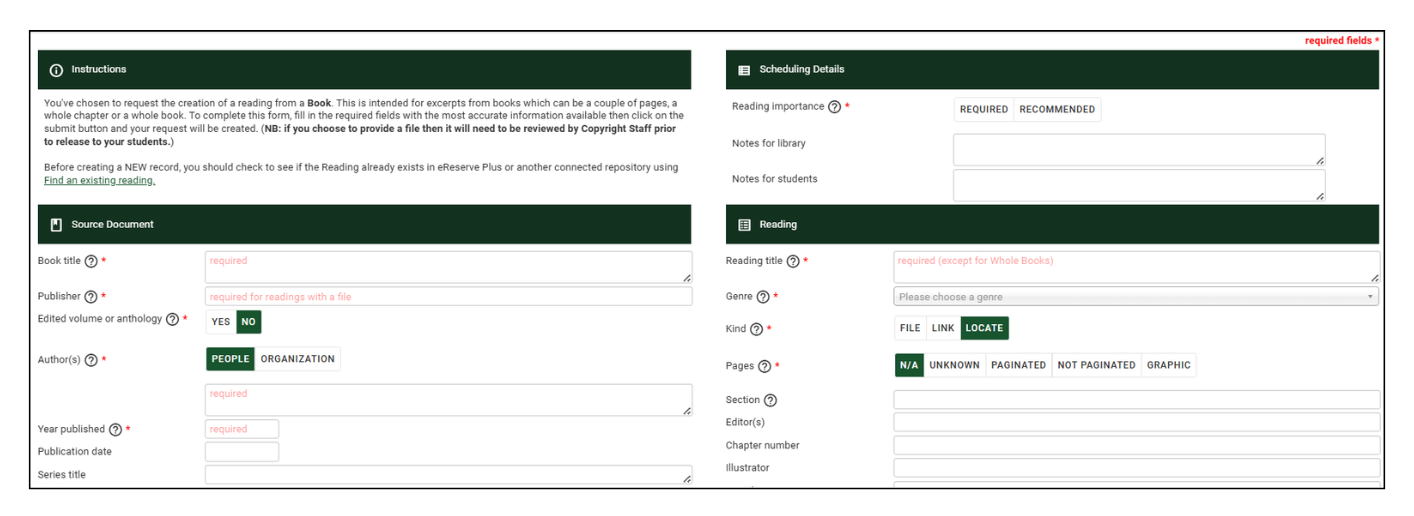
If the library or eReserve don’t have what you would like your students to read, you can request we purchase it. This tells the librarian to either create a record from a legitimate source, or purchase a resource. You can also import resources from a RIS Citation list (see Import RIS File for how to do this).
1. From your Moodle course, click into eReserve, then click Add:
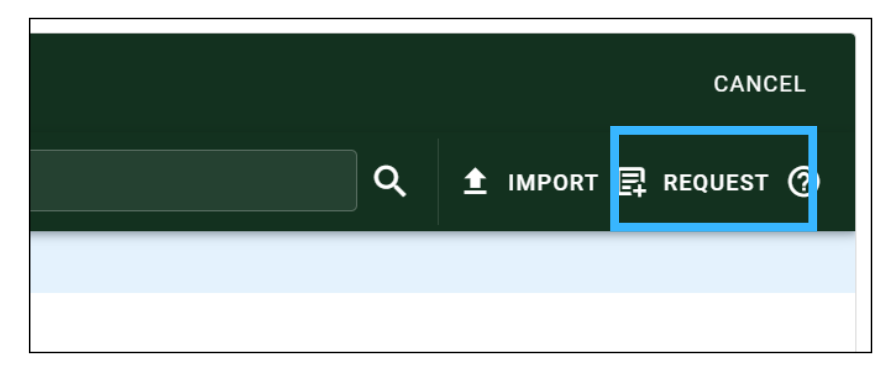
2. In the right-hand corner, click Request:
3. Fill in all required fields:
Back to the top
Go to your eReserve list in your Moodle page.
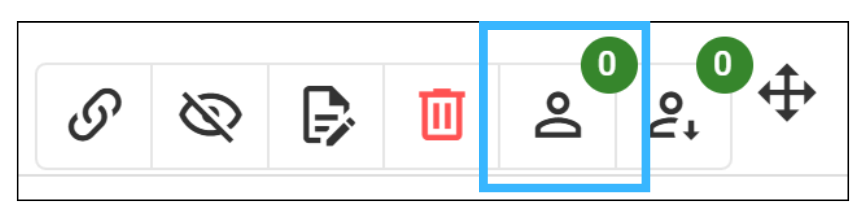
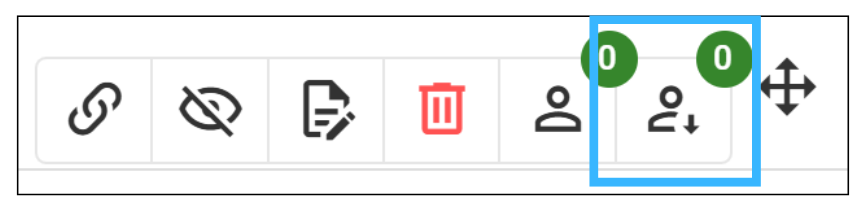
On the left-hand side of each resource:
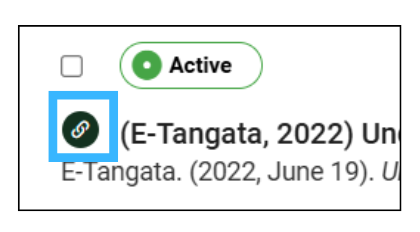
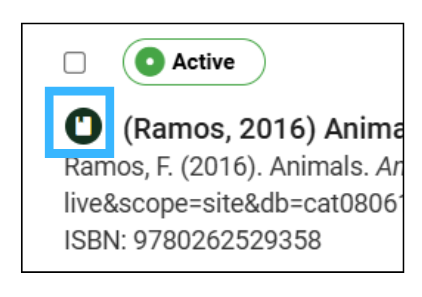
On the right-hand side of each resource:
Back to the top
Once a semester finishes it is necessary to rollover your readings to a new semester.
There are two approaches to create reading lists. You can either rollover resources from an existing list or create a new list and add resources from your library collection.
Rollover an existing item
1. Click on the New List button:
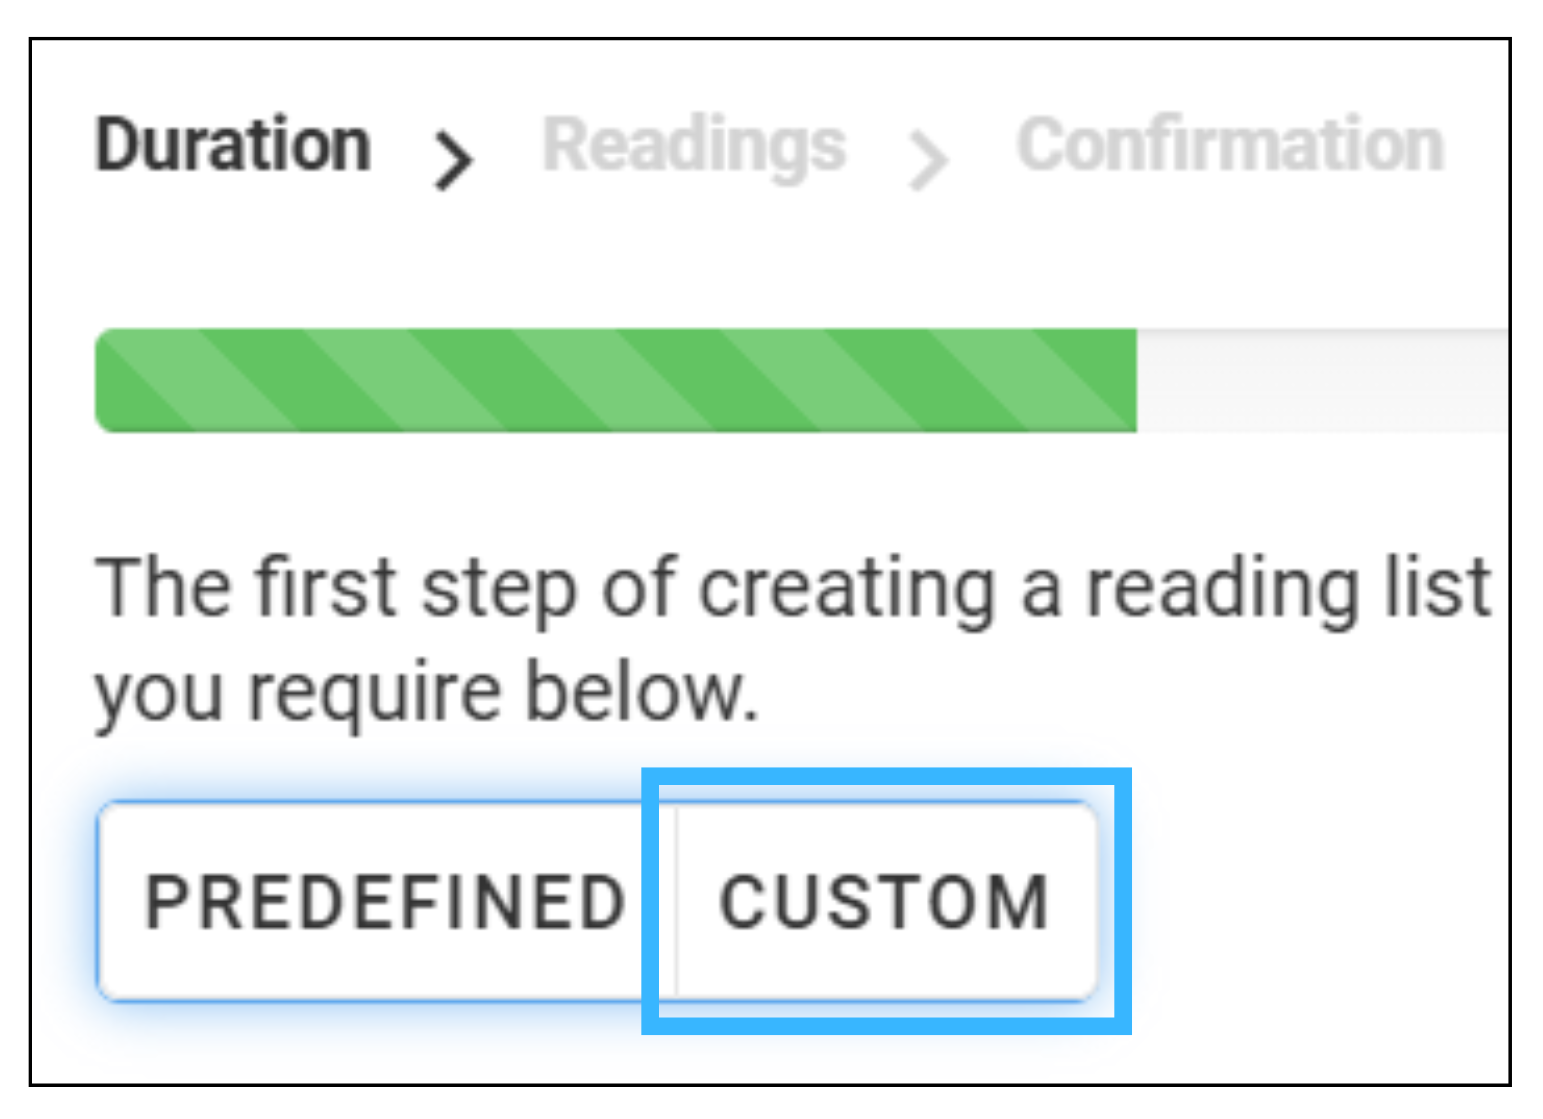
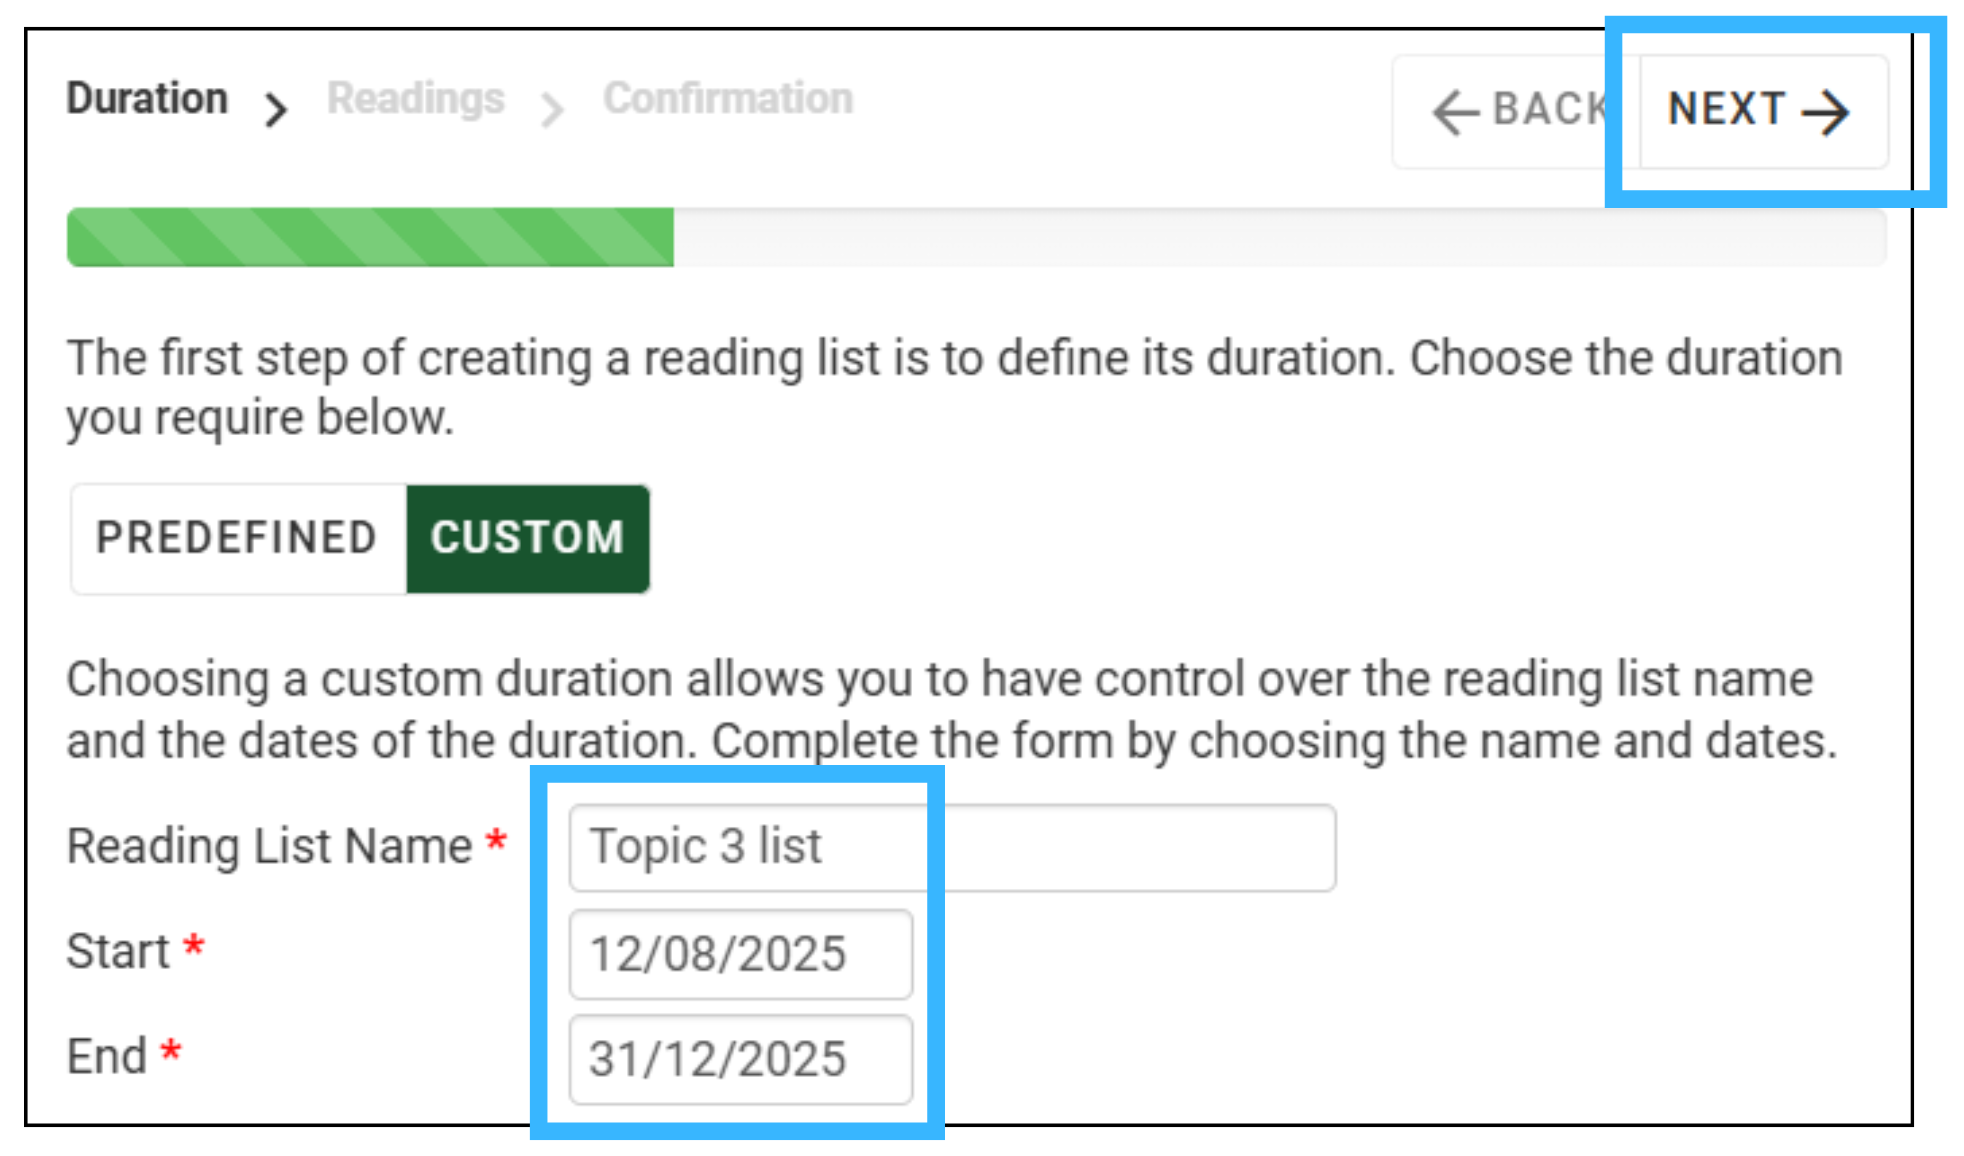
2. Select the Duration of the list. You can select either a predefined duration, which are created and managed by the library team, or you can create a custom duration. Please note that you are not able to create multiple lists with the same predefined duration.
3. After selecting the Duration, click Next.
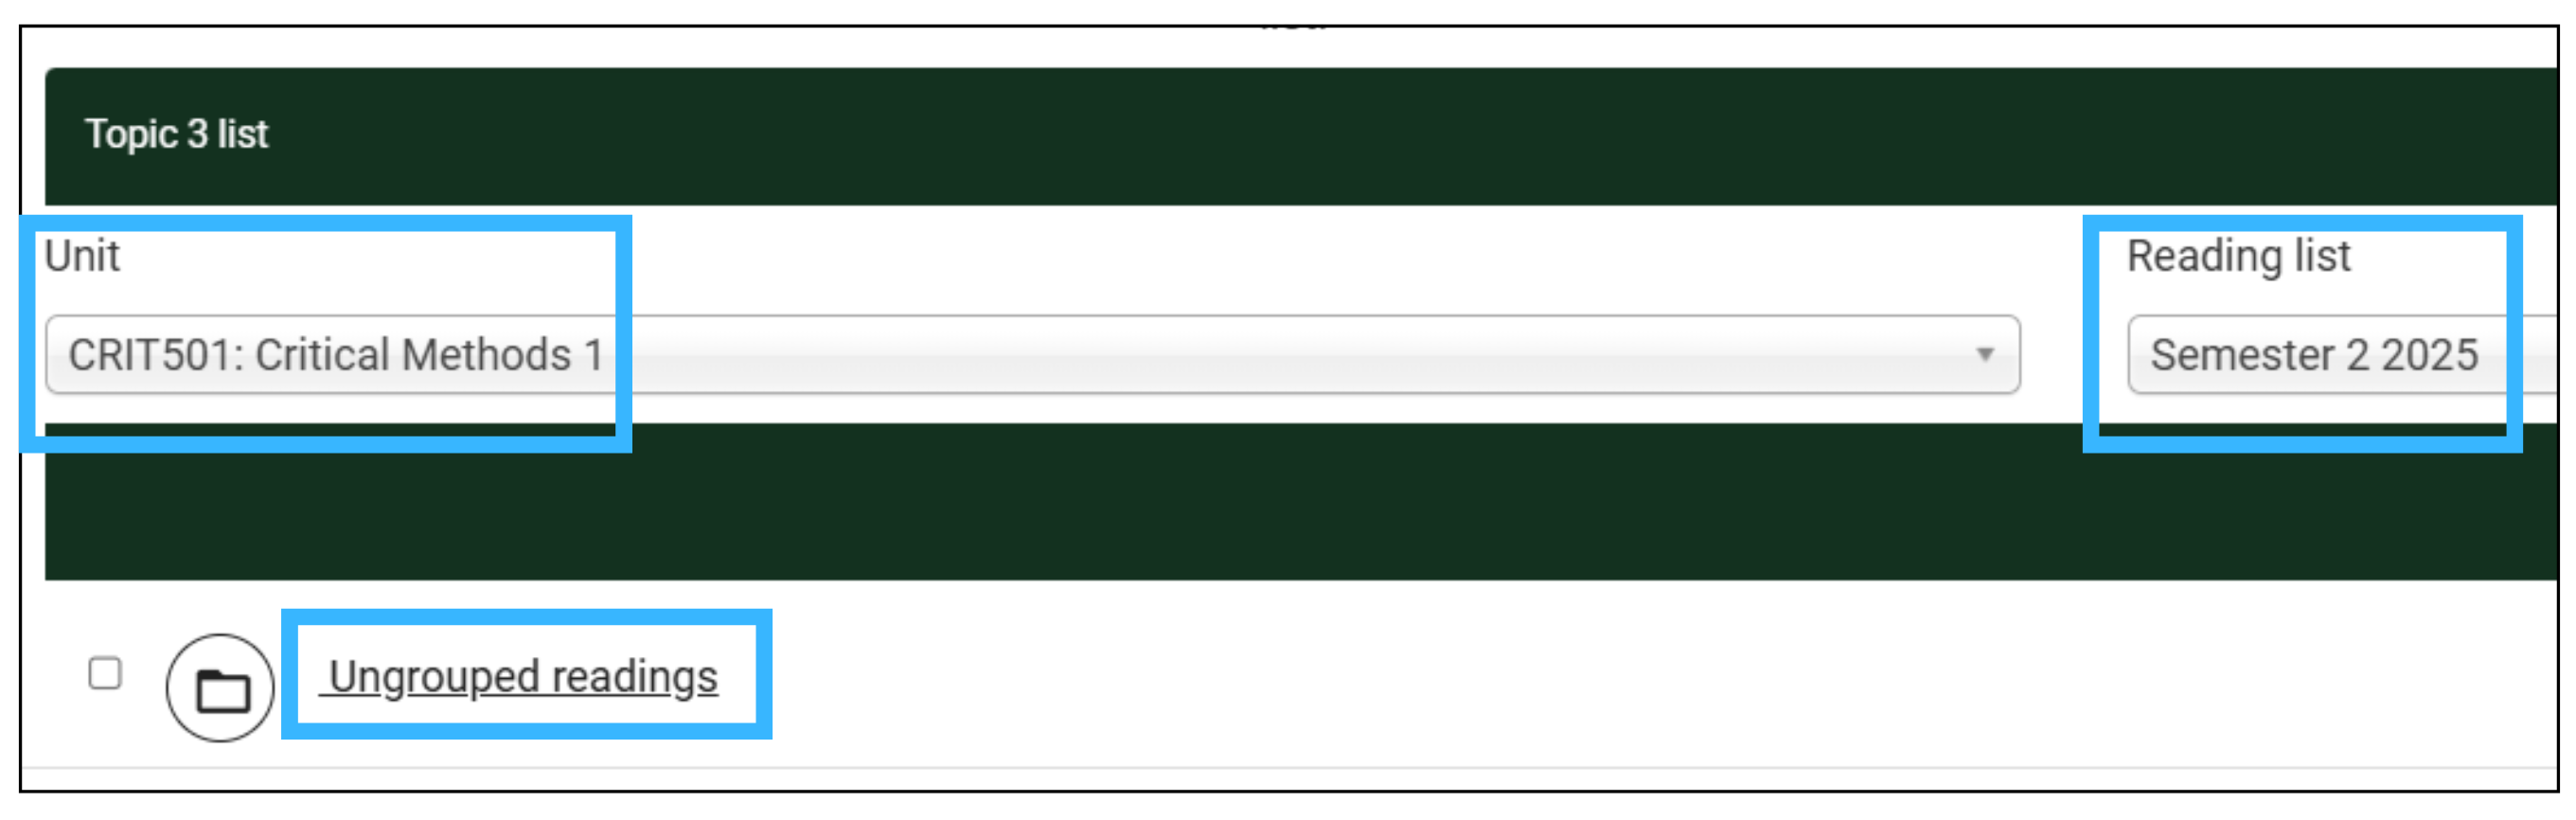
4. Click the Unit dropdown, then type the name of the course or unit code in the field. Select the course that contains the list you wish to reuse resources from.
 5. Click the Reading List you’d like to reuse resources from on the right-hand side dropdown. Reading lists are ordered by date.

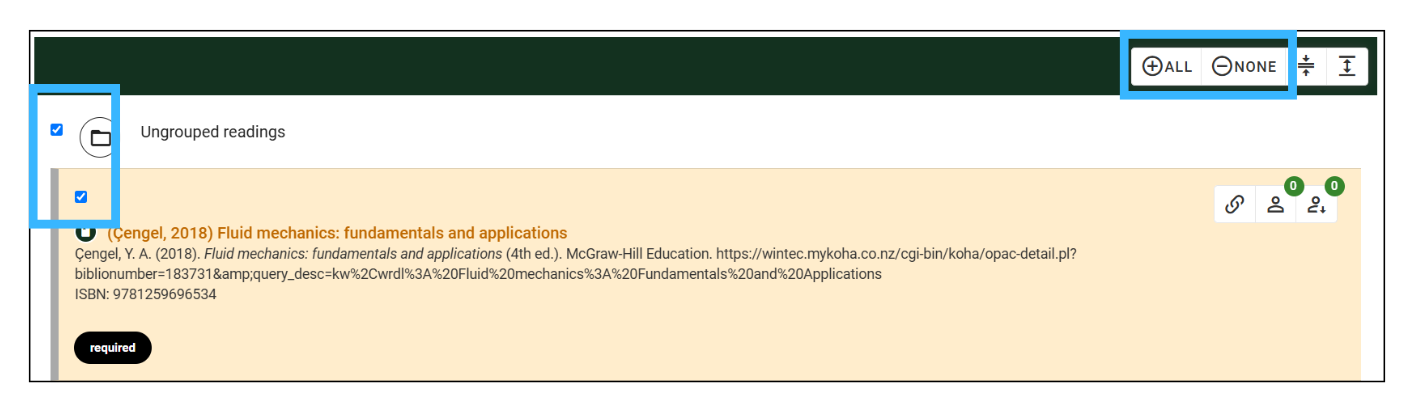
6. Once selected, the page will refresh and display the selected list’s resources and groups. Please note that only resources that have a status of 'Active' can be rolled over.
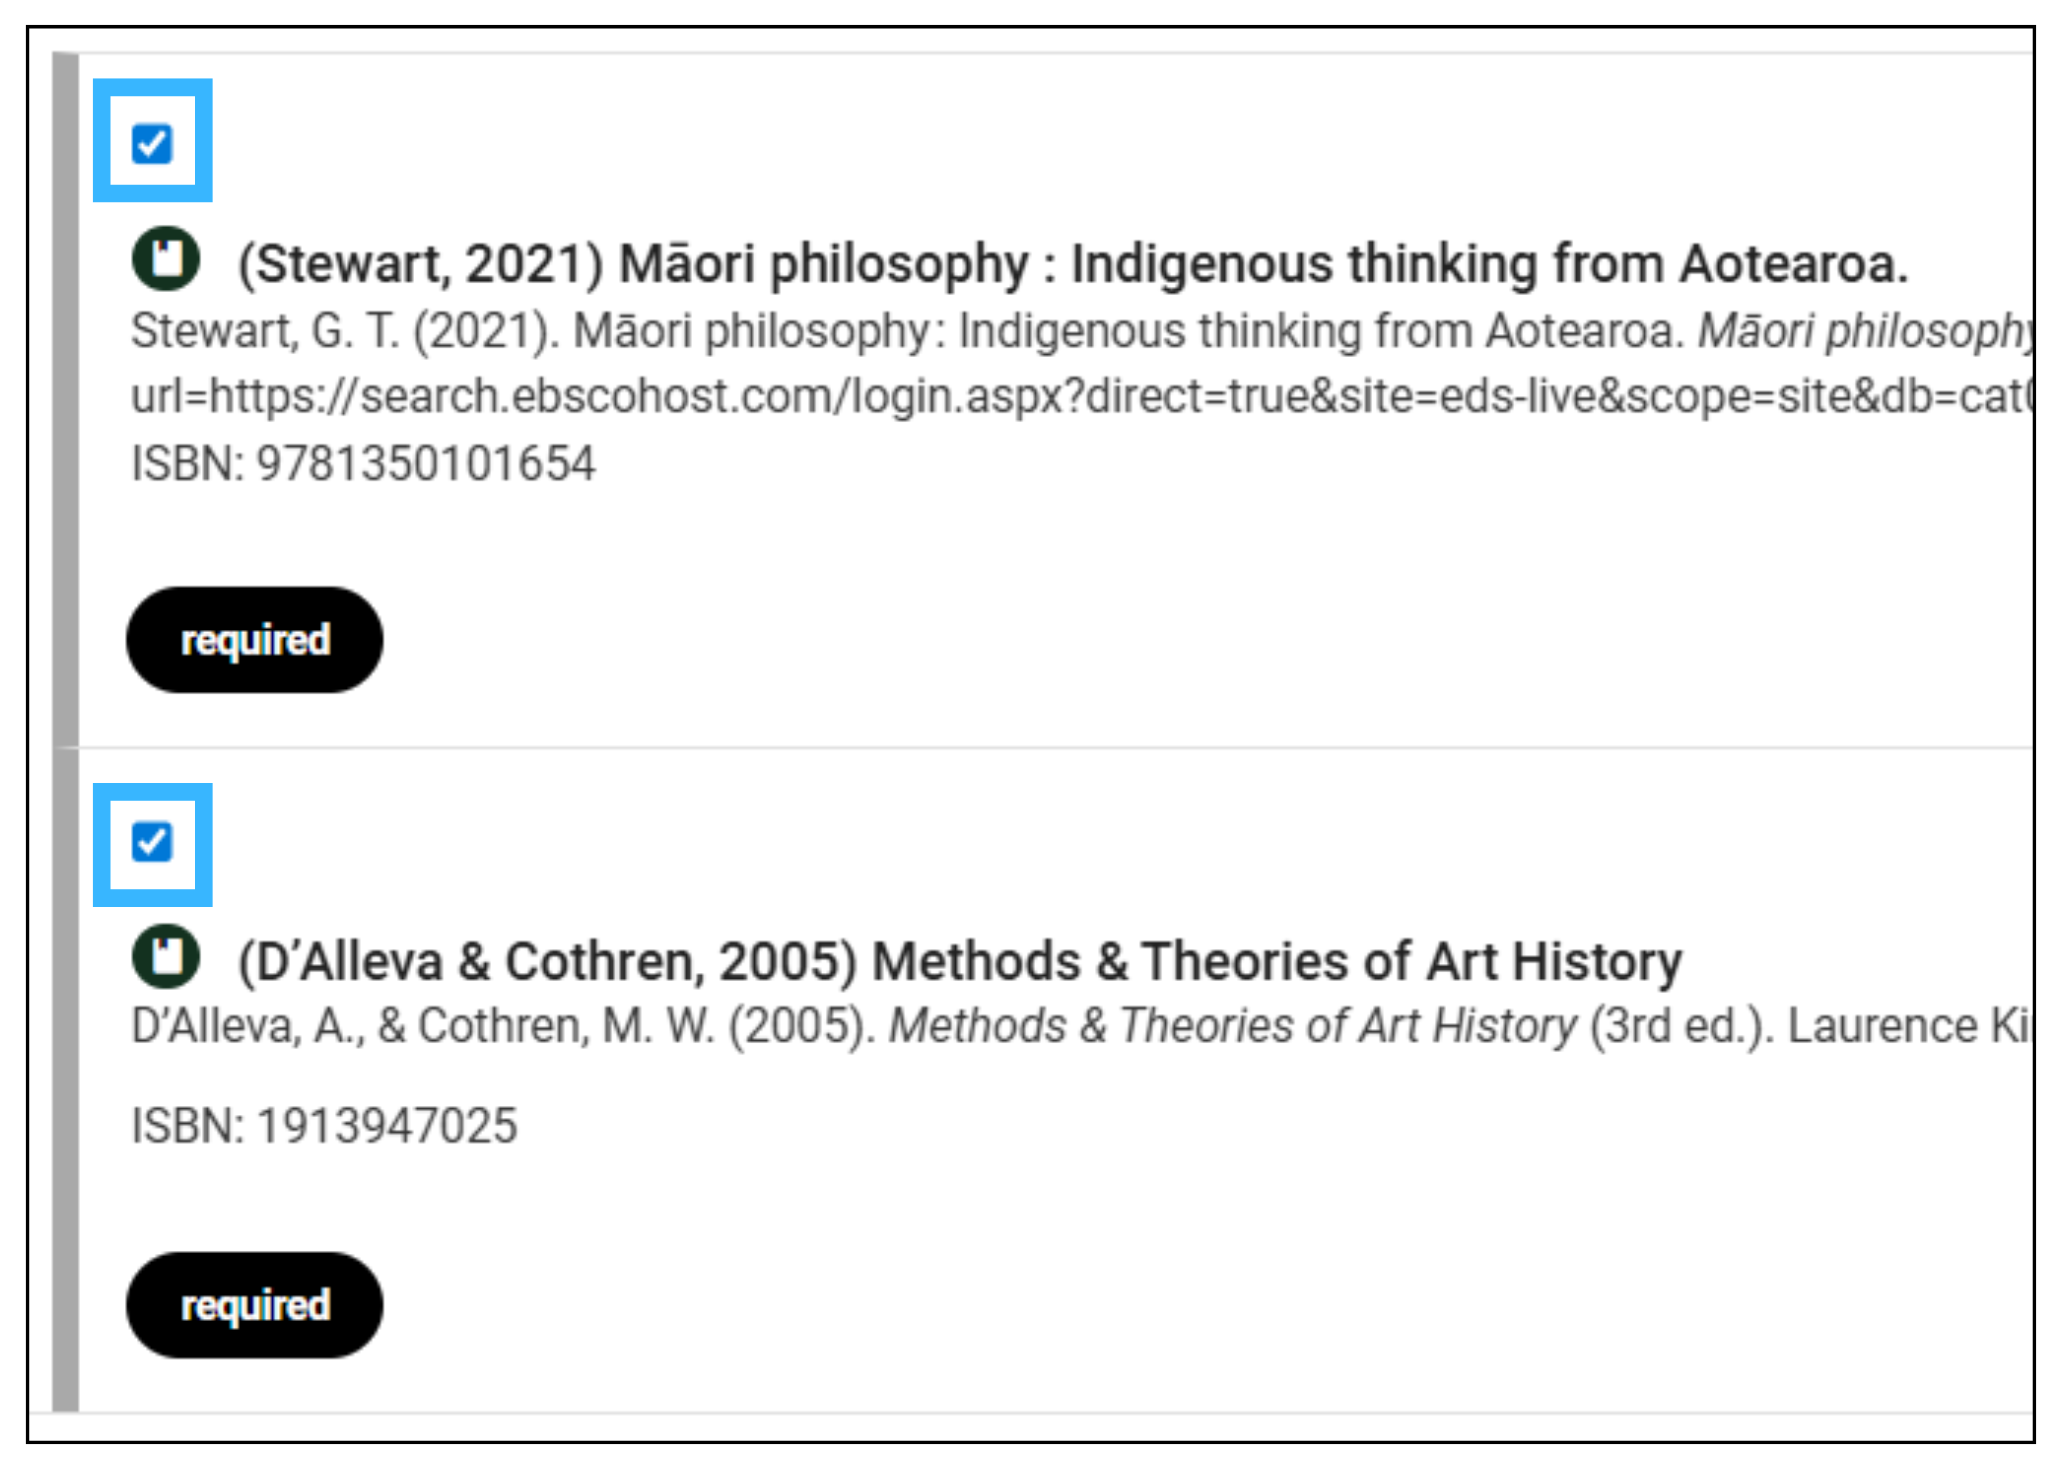
From here, you can perform any of the following actions:
Click the expand icon to expand all groups in the list and the collapse button to close all groups.
To select all resources, click the All button.
To select each resource individually, click the item check boxes next to the resources to select individual resources or a group of resources
To select resources by group, click the check box to the left of each group
Click None to deselect all selected resources
 7. Click Next at the top of the page to proceed to the Confirmation page, where you will confirm the resources selected. If the selected resources require editing, click Back to return to the selection page.
8. Click Create to create the list with the selected resources.
Back to the top
Visit the official eReserve training guides.
Or contact your Liaison Librarian.
Or watch the overview of the faculty view of eReserve (8 minute video).
Back to the top